
She is obviously in a black outfit. Black fabric presents some challenges to make it look three dimensional. The key is to put in highlights on the fabric rather than shadows. To make highlights you need a white opaque paint. For this piece I mixed the white paint with a bit of green.
I traced the dress, hat and cape sections from the full size enlargement. I used a solid black Kona cotton fabric for these pieces and a sliver of soap to mark where the folds in the fabric occurred. This was my guide for placement of painted highlights. You can see the soap line on the cape neck and hat brim below.
I mixed my white and green paint and put it on the highlight areas. Below you see a photograph of the highlights on the dress. These highlights definitely give the dress a three dimensional appearance to me.

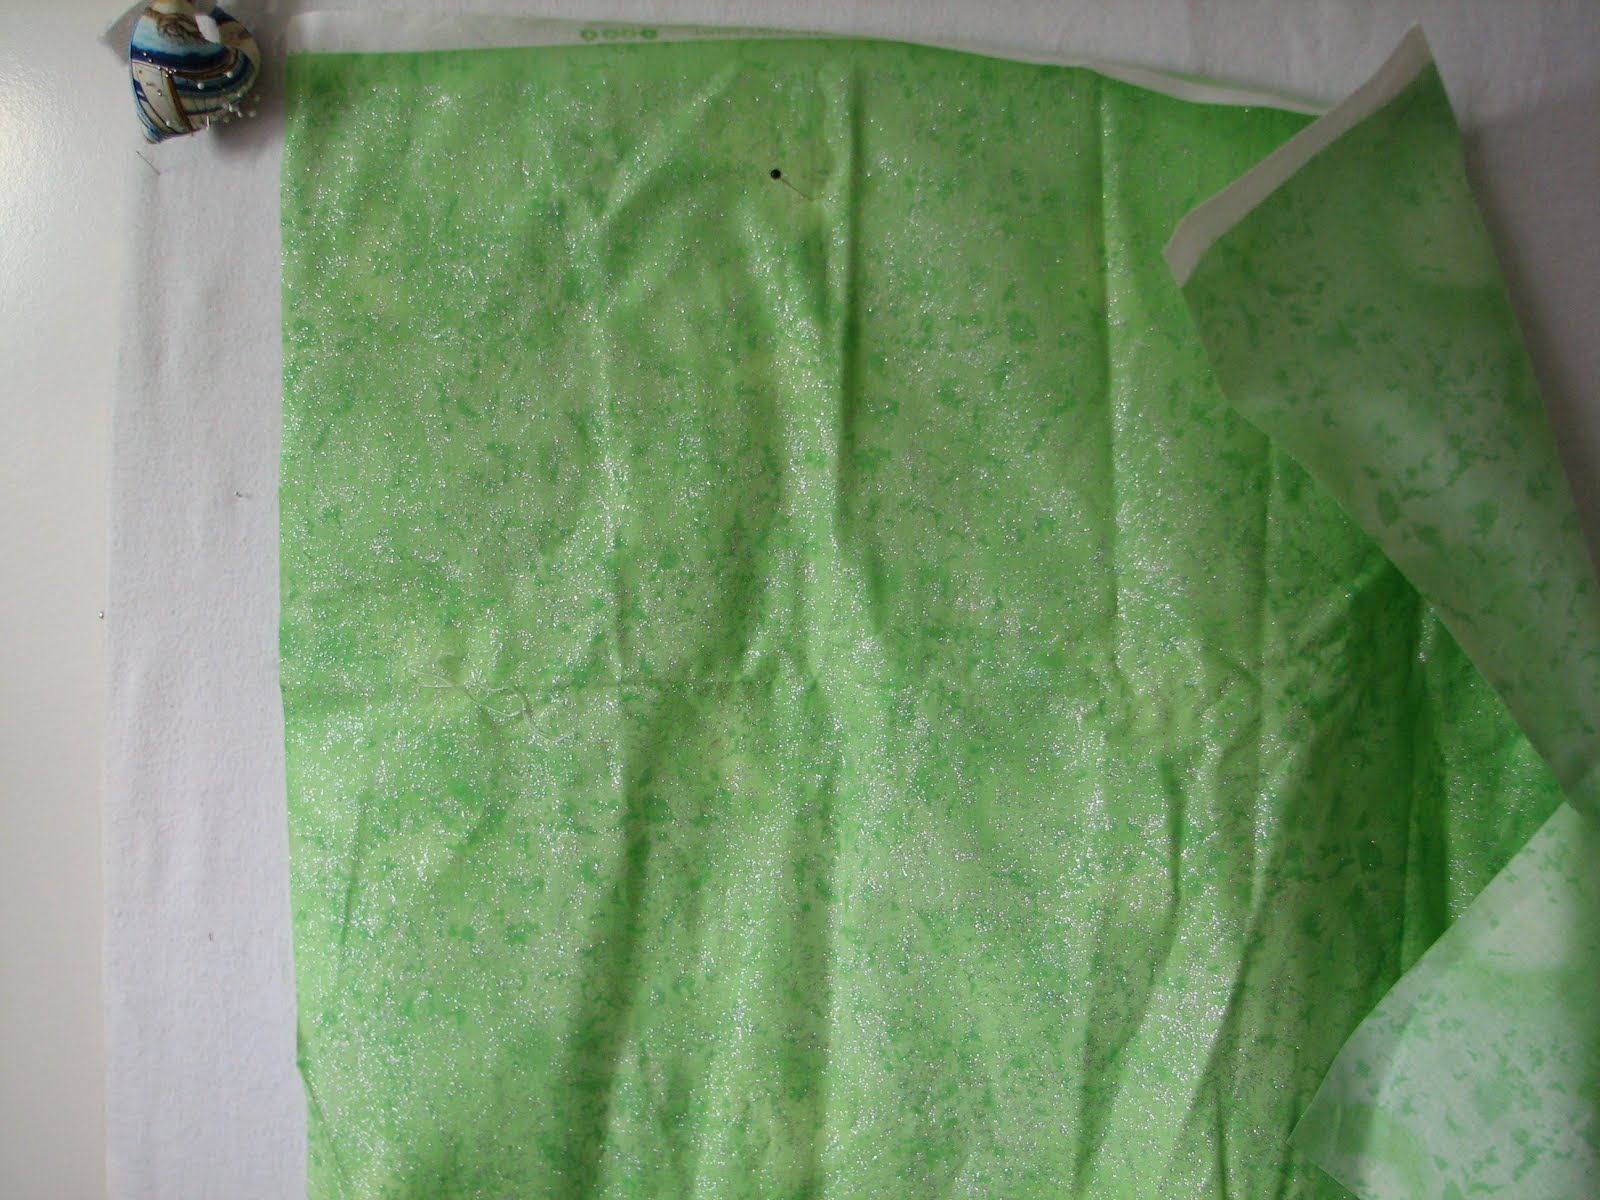
The inside of the cape and hat presented an opportunity to introduce some other fabric. Here is one of the green fabrics that I used:
I used a collage technique to place additional green printed fabrics in these areas. This is the inside of the cape being constructed piece by piece.

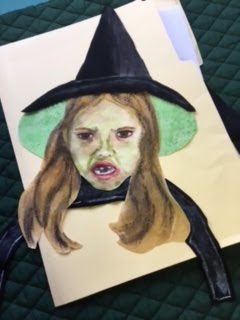
This photo shows the collaged fabric inside the brim of the hat.

I hope this information gives you some ideas for your art quilts. In my next post I'll show the orange/brown parts of the witch's outfit: the shoes, pumpkin, and broom. Thanks for visiting my blog!
No comments:
Post a Comment