Wednesday, December 17, 2014

A New and Improved Design Wall!

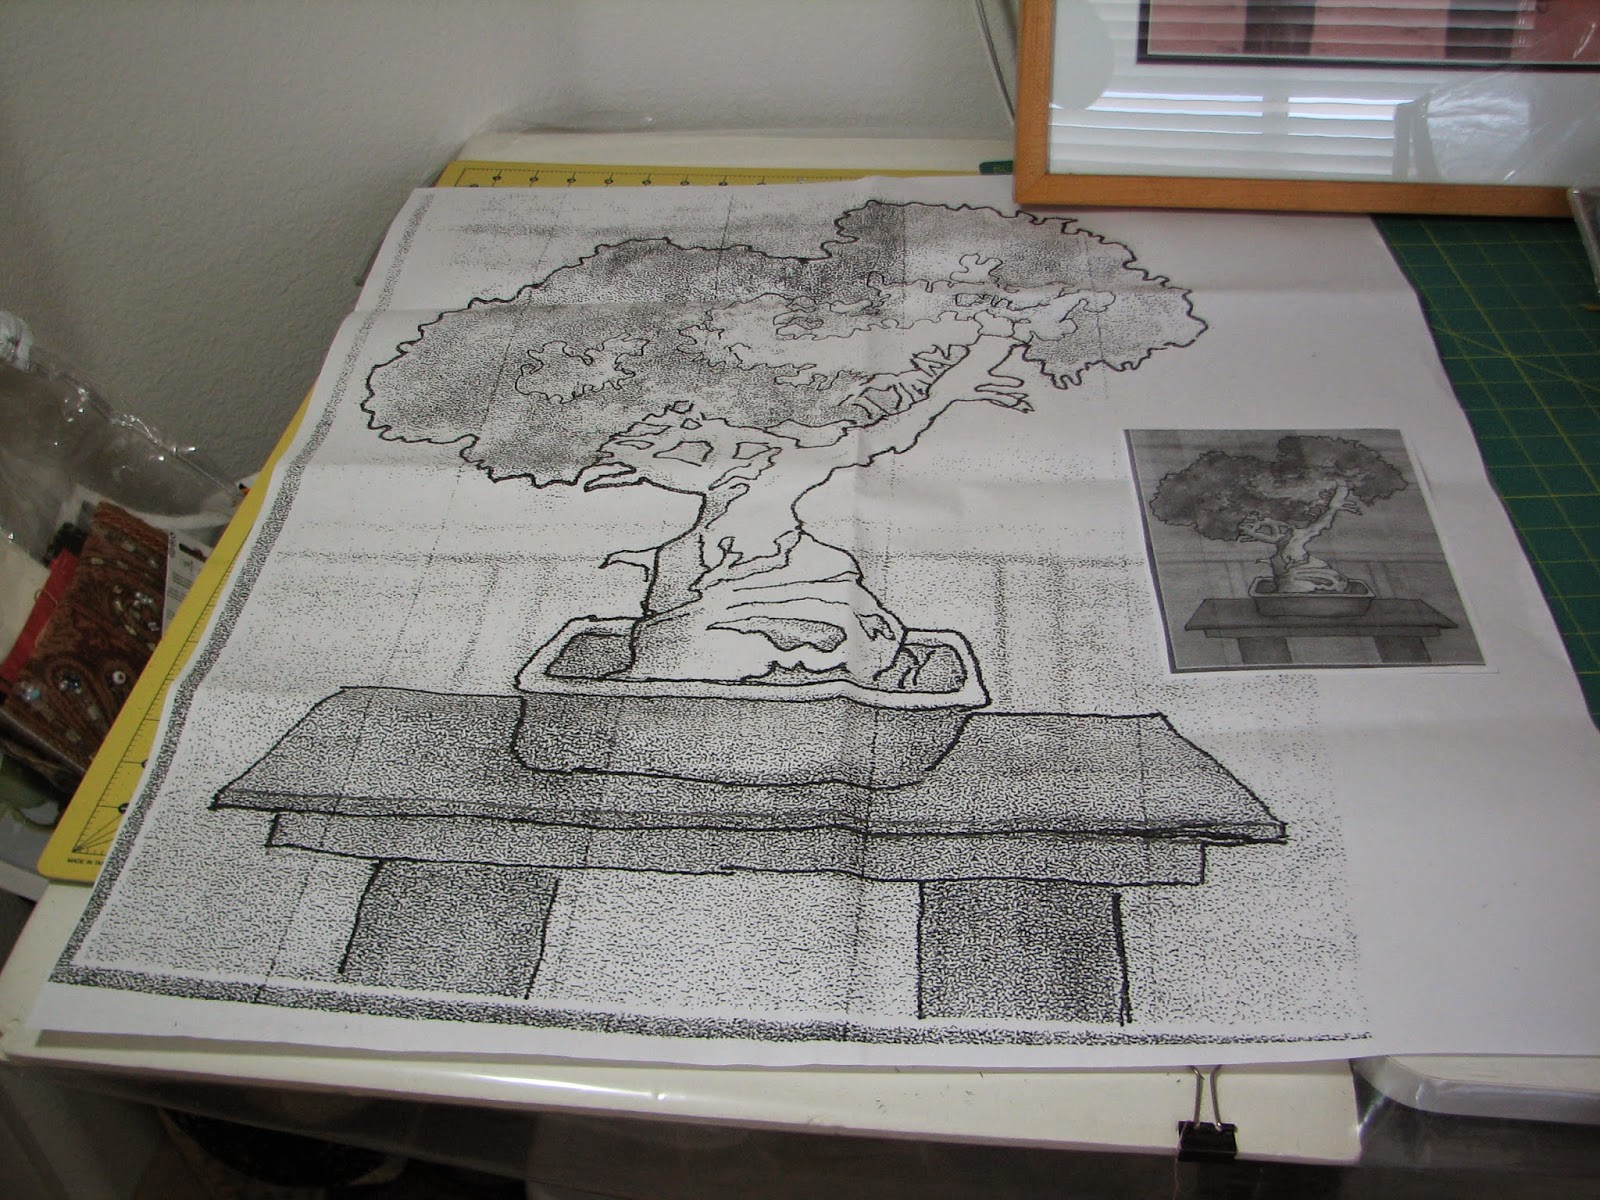
My studio is a small bedroom in my home. I am not complaining, because I realize that many people have less space than I do. I’m very thankful for what I have. But nevertheless, I store a lot in that room and use it for a wide variety of creative purposes. Given that, I need to maximize the utility of every square inch! Here you can see that it's a bit crowded in there...


A design wall is essential to art quilting, I think. For years I have been using a design wall that I would construct from stretcher bars and batting. I didn't have the space to leave it up all the time, so it would be up when I’m working on a project and then taken down. When it was up, I was frequently moving it around the room in order to access the closet, or this table, or that bookcase. It was inconvenient to say the least.


stretcher bars when being stored


So recently I decided to make a design wall on one of my sliding closet doors. The closet in my room has three sliding doors. The center door does not slide behind the other doors, allowing things to be placed on it without being knocked off when I slide the door. I have taped drawings to this center door for a long time without any problem.

door before design wall


I made the design wall out of insulation foam that I purchased at Home Depot. Home Depot has various thicknesses of insulation foam to choose from. I used a foam that is about 1.5 inches thick. I could have purchased a large sheet of it for less money than I spent, but the large sheet would not fit in my car.  Instead I purchased several two foot by two foot squares of the insulation foam. My door is three feet wide, so I cut some of the insulation foam sheets down the middle to make one foot by two foot sections. I placed a two foot by two foot piece next to a one foot by two foot piece to cover the width of the door. I covered most of the door this way, ending up with a three foot by six foot design wall.
insulation foam

The foam sheets were taped to the door using mounting tape. This tape is double sided and rated to support a heavier weight than the foam and anything I will ever pin to it.
mounting tape


After the foam was mounted on the door I covered it with white flannel. I simply pinned the flannel to the foam so that I could remove it for laundering when needed. Here is the design wall on the door with some photos pinned to it:

design wall on door


I liked the wall on the closet door so much I decided to add a smaller version to the back of another door in the room. It is incredibly convenient now to pin fabric, photos, drawings and other things up in an instant. I got this all done in one day too. It is a great improvement over what I was using.


I hope this gives you some ideas of how to better use your space. 

Thanks for visiting my blog!

Monday, December 8, 2014

Bonsai - Borders, Quilting and Finishing


This post is going to describe the finishing steps for this Bonsai piece. After adding the foliage, I squared up the inner orange part of the quilt and then added a flange made from cream silk fabric to the bottom and left borders. After the flange was on,  I made a border from the brown table top fabric and added it to all four sides. I like uneven borders so if it looks like one side of the border is larger than the other, it is!

Once the borders were attached I did another round of squaring up, and then sandwiched the top, batting and back.  I machine quilted this piece with my HQ Sweet Sixteen. I tried to follow the pattern on the background fabric that was left by the tin tile impression. Where I couldn't see the impression I just made up a pattern to fill in the space. I used pretty tight stitching on the background. Here is a close up of part of the background.

background quilting


For the pot quilting I stitched a curving pattern reminiscent of ammonites. It is a pattern I use quite often. In this case it gave the pot the appearance of a ceramic vase, which is what I was going for. Here is a close up.


pot quilting
I also did machine quilting around the appliqué pieces, in the foliage and on the border. The border design was just a fan shape variation and straight lines.


border quilting


After the machine quilting was done I finished the edges with a facing, 

I named this quilt “Furui Bonsai No Ki”, which means “Old Bonsai” in Japanese. The Haiku I wrote for the label reads:

"Furui Bonsai No Ki

Old Man of Nature
Silent Garden Observer
Shaped to Perfection"


And with that I will call it a day. After all, it is always a good day when you finish a quilt!


Thanks for visiting my blog! 

Monday, December 1, 2014

Bonsai Foliage


The foliage on this fiber art piece was a lot of fun to make. I used a technique similar to "thread play", as described by Nancy Prince in her book.

To make the foliage I unraveled yarns and strip sliced nubby fabric. I added this to other fuzzy yarn pieces and threads.

foliage beginnings

unraveled yarn


I arranged the masses of threads, yarn parts and fabric into light, medium and dark value piles. Then I arranged the piles so they had a similar value arrangement to the painting. I created a few different clumps to represent the dominant leafy areas in the tree.


foliage clump


Once I had the masses the way I liked them, I placed them between two layers of Solvy water soluble stabilizer and pinned it. I call this a Solvy sandwich. I stitched all over this sandwich to secure the masses. After stitching I placed the sandwich into a water bath to dissolve the stabilizer.  I rinsed it well and let it dry.

Solvy sandwich


After drying I laid the foliage masses on the tree trunk and stitched them in place lightly. I held off on more stitching because I plan to use machine quilting stitching to secure it more. I didn't want to stitch too much at this stage for fear of compressing the mass. I wanted to keep the three dimensional appearance of the foliage. Here is a close up of the foliage. I'm pretty pleased with the way it turned out.


Next I'll describe the machine quilting. Thanks for visiting my blog!

Monday, November 24, 2014

Bonsai Table and Pot


Today’s post describes the making of the table and pot for the Bonsai fiber art piece shown here.
After the tree trunk, the table and pot were a snap. I cut out pattern pieces for these by placing freezer paper over my enlarged drawing and tracing the outline of each separate part.

table and pot pattern pieces


These are the table parts:
Legs, top, top edge and leg area front. I wanted a different fabric for the top to help give the impression of a horizontal surface, and to make it more interesting to look at. I used cotton browns for the table. The top and leg front was made from a large print, while the other areas were made from a subtle dark brown print.

brown fabrics for table


The pot had these parts:
Base, lip, and inside. Once again I selected fabrics based on color and value to try to give depth and highlights where needed. The lip and base were raw silk fabrics, while the inside of the pot was made with a cotton Japanese fabric.

pot fabrics


These were also needle-turn appliquéd to the back ground. This appliqué work was easy because of the straighter lines. Here is a close up of the table and pot stitched down.


The next step for this piece was making the foliage for the tree. I’ll describe that in an upcoming post. Thanks for visiting my blog!


Monday, November 17, 2014

Bonsai Trunk


For today’s post I’m writing about how I made the tree trunk for the Bonsai fiber art piece that I show above. As I mentioned before, I made this from a watercolor painting I had done. My favorite part of the tree is its' trunk.  In particular, I love the twisted appearance of it, and I thought I captured that in the painting.   I wanted to make sure I got that same look in the fiber version of this, so I decided to make the trunk by painting it, the same way I did in the watercolor painting.

I used an ivory raw silk fabric for the trunk.

raw silk fabric


I cut out the trunk shape and marked the darkest areas with a Frixion pen. I wanted to start painting with my lighter values, so I mixed a pale yellow and pale mauve shade and started applying to the trunk. I used my watercolor painting as a guide for the placement of the colors. After painting the light values I put in mid-values and then dark values. I mixed the inks with aloe vera gel to give them more viscosity and prevent bleeding. After the dark values were in I came back and added some aqua blue for highlights on the trunk in a couple locations.

ink painting


watercolor painting


To set the paint I pressed the fabric. Then I hand appliquéd the trunk to the background fabric. I marked the outlines of the trunk on the orange background fabric so I would get the placement correct. I used a needle-turn appliqué technique with silk thread. I found it difficult to needle-turn the raw silk because it frays more than cotton. But I did the best I could and persevered! I had several branch openings to stitch down and some of these edges did not look great, but I knew I was going to add foliage to that area and those edges would be covered. It worked out and I was pleased with the look of it after it was done.

trunk stitched down


My next steps were adding the table and pot that the plant is in. I will describe those steps in an upcoming post. Thanks for visiting my blog!

Wednesday, November 5, 2014

Attend the Shades of Passion Show Artist's Reception - Virtually!


Did you miss SAQA's "Shades of Passion" show this year? If you did, you can enjoy a montage of images from the artist's reception by clicking on the link below. The video shows many of the art pieces in the show as well as artists and guests. 


Thanks to Laura and Luke Bisagna for creating this video - Shades of Passion


Monday, November 3, 2014

Mapping Out

Quilts on the Wall's "Maps" Exhibit will be on display with Ellen November's cartographic themed fiber art at the Malaga Cove Library in Palos Verdes Estates. I have a piece in this show, it is the Mission themed fiber art piece shown on the postcard below on the far left.

The artist's reception is November 8th, from 2;30 pm to 5 pm. The show runs from November 1st through 29th. Additional exhibit information is shown below. It should be a wonderful show and I hope you can see it!


Wednesday, October 29, 2014

Bonsai - Fabric Selection


And now we move on to the fabric palette for this art quilt:


I have been collecting silk fabrics for some time and thought this piece had an elegant look to it that would suit the use of silks perfectly. I used the orange background fabric and my watercolor painting as a guide to help me select. The two most important features in the painting are the tree trunk and the plant foliage. The tree trunk needed to contrast well with the background, and I had a vanilla colored raw silk fabric that seemed perfect for it.


I didn't want to use fabrics for the foliage, but instead I wanted to use a mass of stitched threads and yarns. I will talk more about that in a future post, but for the purpose of selecting fabrics I knew I wanted this mass to be blue/green primarily.


The pot fabric needed to coordinate with the foliage, so I chose a Japanese blue green print that I had picked up at Road to California a couple years ago. I had another raw silk in a light value blue-green that I used for the lip of the pot.  


I am so glad to use the Japanese fabrics in my stash for this quilt. It obviously makes sense given the Bonsai subject matter, but that’s not the main reason. There is a vendor at Road that carries Japanese fabrics and I have been attracted to them for a long time. Each year I buy some. They are a little pricey, which is fine if you use them. But for a few years I was just buying them and putting them in my stash. Last year I decided I wasn’t going to buy more until I used some of what I had. So here I am, using some of it. That justifies my past purchases and the ones I am sure to make at next year’s Road to California show. A win all around!

The table fabrics were also from my stash. I had some dark reddish brown prints that seemed to work perfectly with the orange background and blue-greens.


An entirely stash made project. That’s a good feeling!

Here are all the fabrics together:


My next post will be about the tree trunk.  Thanks for visiting my blog! 

Friday, October 24, 2014

Bonsai - Background Fabric

Bonsai


This is the background fabric that I used for my Bonsai:

background fabric


It was painted at a workshop with Teresa Shippy. Teresa conducts workshops each summer on tin tile fabric painting. She owns several tin tiles. These are the pretty tiles that are found on ceilings of some very beautiful buildings. The impression on the tin tiles is painted on to the fabric. To do the painting, you lays the tiles flat, then spread your fabric on it. Wet the fabric, apply paint and let dry. Once it is dry you then apply additional paint using a dry brush technique. The dry brush paint adheres to just the raised area of the tin tile, accentuating the impression on the fabric.

If you want to attend one of Teresa’s workshops check out her website - Teresa Shippy website  They are a great time and good value. You will come away with several fun backgrounds for art quilts.  I highly recommend them.


The process described above is what I did here using orange as my primary paint. The orange looks brown here, but trust me, its orange.  After the tin tile impression dried, I splattered on yellow paint using a Jackson Pollack technique -  fling it!  I love the look of this piece, especially the lost and found parts where the impression comes and goes.

tin tile impression


Once the background fabric was chosen it was time to transfer the image to it.  I traced the painting I had done and enlarged it.

tracing

Then I laid the orange fabric on my enlarged drawing and used a Frixion pen to mark the location of the key features. The Frixion pen erases with a hot iron, so its safe to use it without worry that the marks will show up later

enlarged drawing


 In my next post I will talk about the fabric palette that I chose for this art quilt. Thanks for visiting my blog!


Friday, October 17, 2014

Bonsai in Fiber

This is a photo of a framed watercolor painting that I did several years ago. I painted this from a photograph of a bonsai plant at the Getty Museum in LA. It was a large, very old bonsai and it looked incredibly stately in that setting.


I always wanted to do this as a fiber art piece, and now I have. Here is the fiber art version of this bonsai:


This fiber art piece is on display in Temecula as part of the Textures show at the Merc Gallery. The Merc is located at 42051 Main Street, and the phone number is 866-653-8696.  The Textures show be on display until November 2nd.  I'm going to describe the making of this quilt on my blog next. And I hope you have a chance to catch the Textures show before it closes. 

Thanks for visiting my blog!


Sunday, October 12, 2014

Moon Shadows - Using Derwent Intense Pencils


As I have described before on this blog, I used oil paint sticks for the majority of the painting on this piece. But, for the owl and the rabbits I used a white Derwent Inktense pencil. These are my pencils.


I switched to the Inktense pencil because I thought the large size of the oil paint stick would not fill the smaller area that the owl and rabbit shapes took up. The pencil point also gave me more control for the tighter curves and crevices on these animals.


To apply the Inktense pencil I poured a small amount of liquid painting medium on a dish, swirled the pencil in the medium and then stroked the pencil on the fabric. The medium I used is shown here:


I stroked in the direction that the moonlight illuminate the area of the animal to give it shape. I added more of the white pencil to those areas that are closer to the moon or that had more girth. Here is a photo of me applying the pencil:  


I let the pencil/paint dry and then pressed the area to set it.
It’s was as simple as that!


 Here are finished animals. Thanks for visiting my blog!

Monday, October 6, 2014

SAQA Poway Show Reminder

I hope you will be able to see the Southern California SAQA member show, "Shades of Passion".  I  have two of my city-scapes in this show, "A Slice of the OC" and "It was a Cold and Stormy Night".

This exhibit runs October 2 -31.  There is an artist's reception on Friday, October 10, from 5 to 8 pm.  The show location information is listed below the postcard. I hope to see you there.


Poway Center for the Performing Arts
15498 Espola Road
Poway, CA 92064
858-668-4693


Friday, October 3, 2014

Moon Shadows – A few more oil paint stick tips!


Moon Shadows


My last post talked about applying the oil paint stick to this art quilt. Today I’m going to give a couple more tips about this process.


Preventing oil paint from getting where you don’t want it to be:

I like to keep a shallow plastic container to rest my oil sticks in while in use. I place the business end into the bottom of the container. This prevents the bar from rolling around and getting paint on other things.

shallow plastic container


As mentioned in my last post, after removing the skin, I put the scrapings into a trash can right away to prevent them from falling onto the carpet (it’s happened) or getting flecks all over.


Protective gloves:

I try to use gloves when applying paint stick to keep my hands clean. I’m not always good about this, but it does help.

gloves


Storage of Paint Sticks:

Before storing the paint stick I wrap it in plastic wrap,


plastic wrap
zip lock bag


After wrapping them I place them in a zip lock plastic bag. This helps prevent excessive drying out.


Clean up brushes:

I use Murphy’s Oil Soap to clean up my brushes. I always keep a 50% water, 50% Murphy’s Oil Soap solution handy in a small plastic bottle. I squirt a bit in a coffee mug and place the brush in the solution for a couple hours.

clean up brushes


Then I wipe the brush clean with a soft dry cloth or paper towel. The amount in the coffee mug is just enough to cover the hairs on the brush. I don’t like to soak more of the brush because it degrades the ferrule area and the brush falls apart faster. It can also cause the wood in the brush to expand.

brush soaking


And that’s it for today. Next post will talk about Derwent Inktense Pencils, which I also used on this piece. 

Thanks for visiting my blog!