I'm rinsing in this case because I noticed that the inks looked a little shiny in one area. I have no idea why they look shiny. It might be the color of ink in that area, mixed with the medium, resulted in shiny-ness. Or perhaps I used too much medium?? Not sure???? Anyway, I thought if I rinsed the fabric then the shiny-ness might go away. But it didn't....So I have decided that the shiny-ness is a desired feature for this piece. Problem solved!
Here is the painted fabric in the sink. I put it in there for a few minutes and then remove it. I roll the wet fabric in a towel to remove water quickly, and then blow dry or iron dry it immediately. Although nothing is supposed to bleed, I fear that leaving water in the fabric a long time is tempting fate and I might get bleeding of the inks. So dry it quickly and no worries!
.JPG) |
| soaking in the sink |
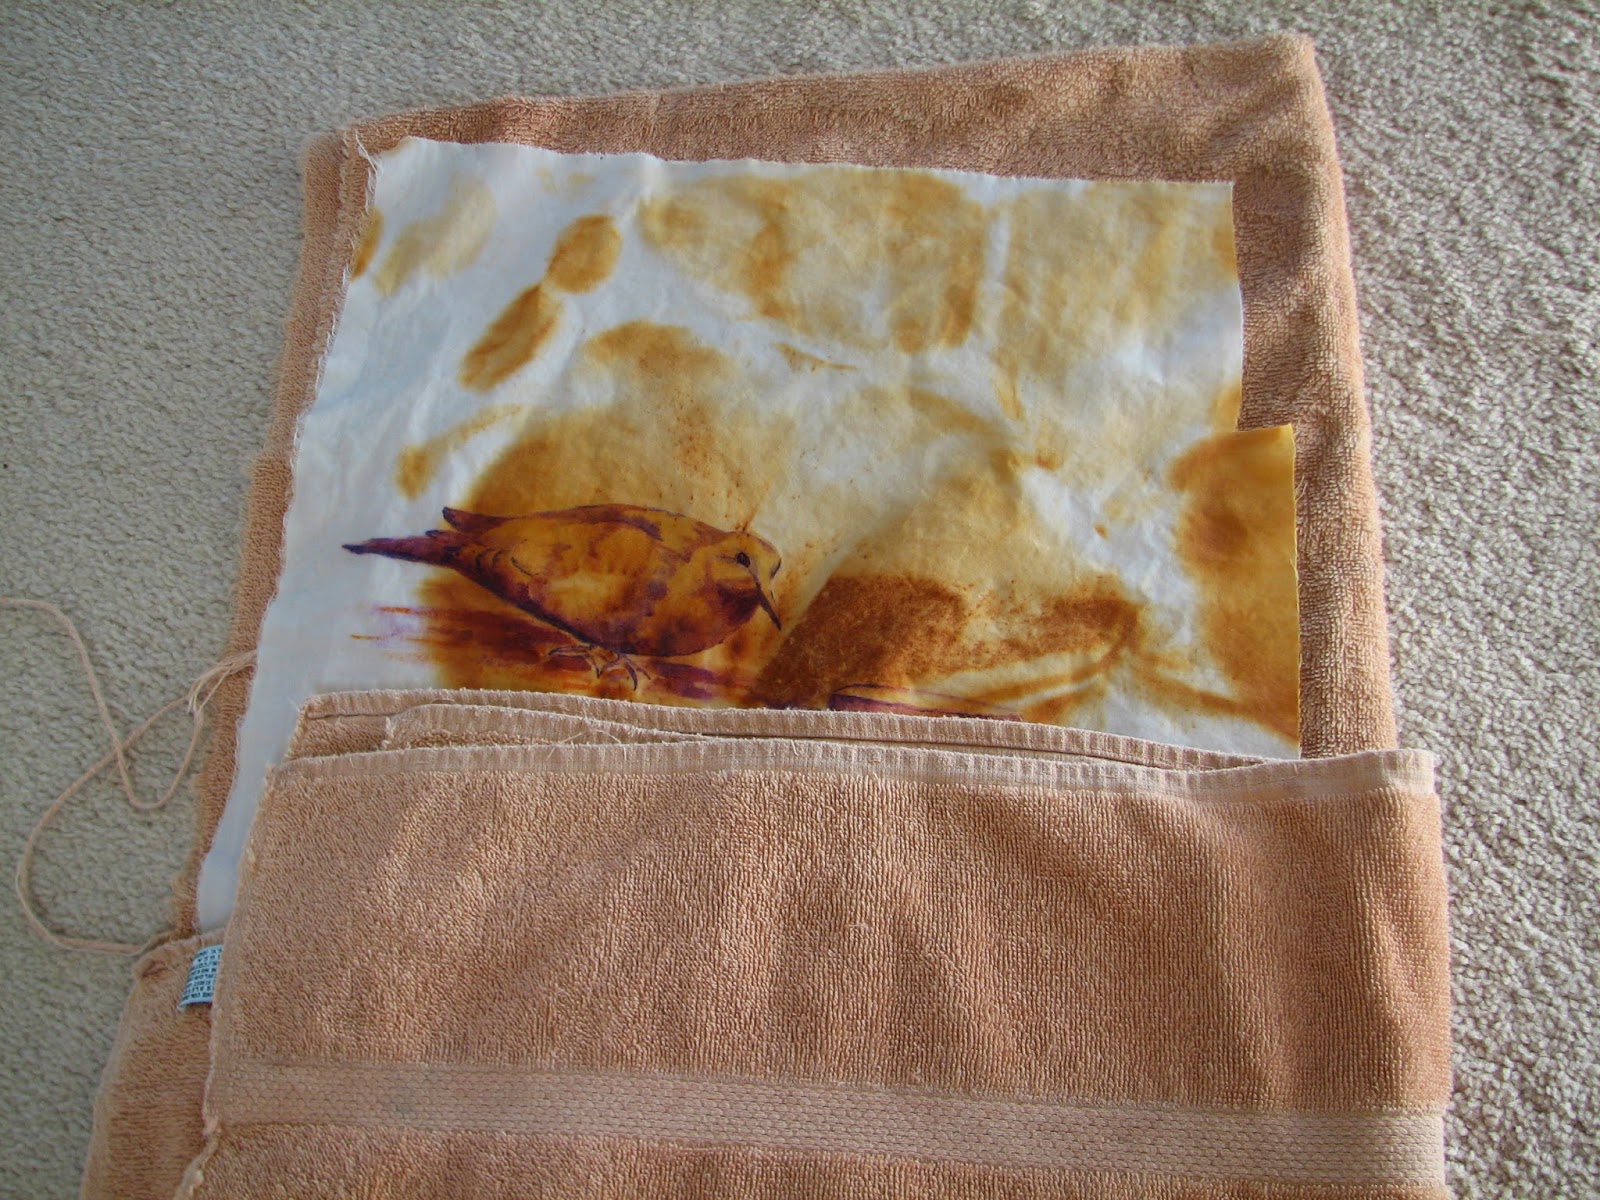 |
| towel drying |
My next step is sandwiching and quilting. That will be the next post. Thanks for visiting my blog!


.JPG)
