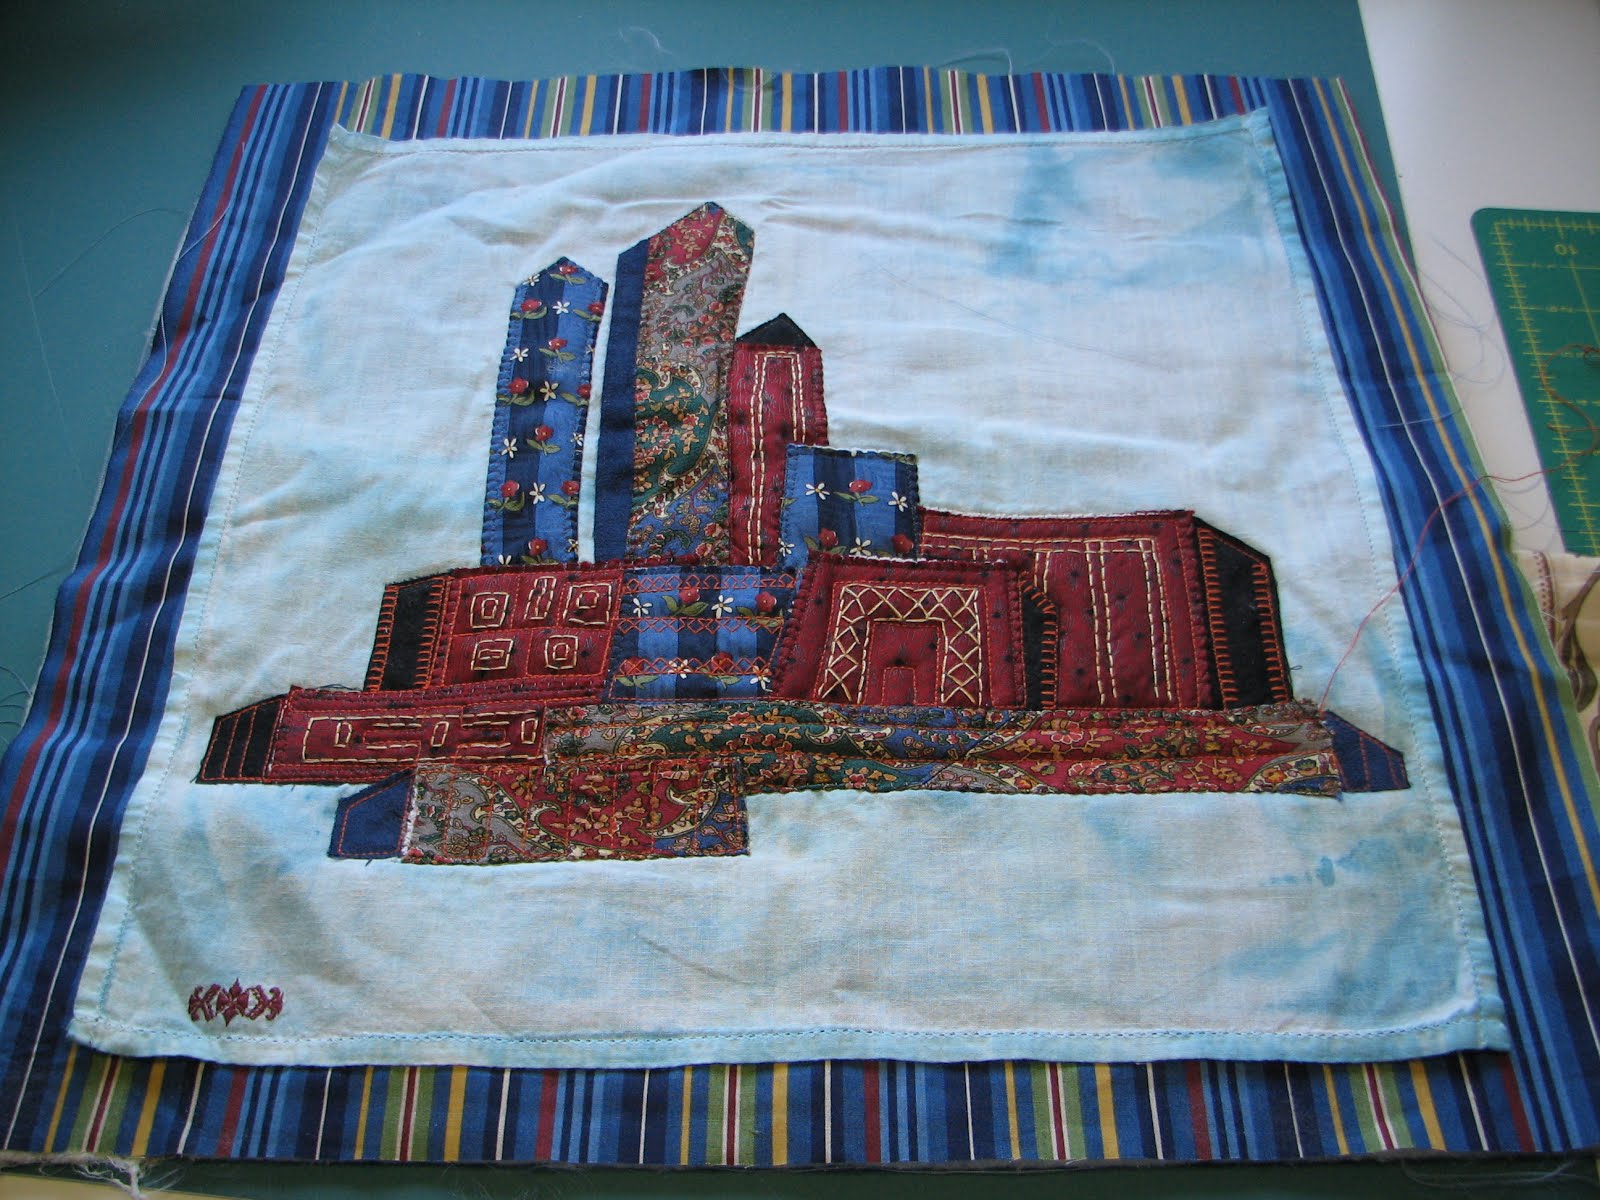
This is a partially finished city scape that uses men's ties for the buildings. I have cut the ties in various sizes to make the buildings. I am using three different ties in this piece. I also am using solid blue and black commercial fabric for the building shadows and the top of one of the buildings.
The tie pieces are placed on a hand dyed men's handkerchief. The dye color is a light blue. I have placed the handkerchief on a commercial striped fabric. There is a piece of batting and backing fabric under the striped fabric.
I cut the tie sections and arrange them in a way that looks interesting. I use a bit of glue to hold them in place, and then begin sewing them down. I sew them with my sewing machine using a buttonhole, zig zag or decorative stitch. The stitching goes around each of the shapes. This stitching is done through the tie, handkerchief, striped fabric, batting and backing fabric. Here is a picture of the back with some of the stitching visible:

It's not particularly neat looking. I intend to use these as pillows, so the back will be inside the pillow and won't be visible. My next step is embroidery work on the buildings. Thanks for visiting my blog!
 I decided to add some color to the background and foreground. I used oil paint sticks for this. Oil paint sticks are just that, oil paint in a stick or fat pencil like shape. The oil paint is a solid, not something that you would be able to squeeze out of the tube. You apply it by scraping the oil stick with a stiff brush and then brushing the oil paint on the fabric, or you can rub the fabric with the stick directly. I do it both ways. I use a stiff paint brush to spread the oil paint around on the fabric. I used a combination of dark and light blue and pale yellow on the background areas. I always let the oil paint set or cure for three days before I do anything else with the fiber art piece I am working on. Below are progress photos showing the stages of the tie scape as I added the paint.


 This is the way it ended up. On my next post I'll show you the next steps for this project. Thanks for visiting my blog!